Last updated on July 30th, 2025 at 10:22 pm
Timing an espresso shot isn’t just about seconds—it’s about flavor, consistency, and getting the best out of every bean.
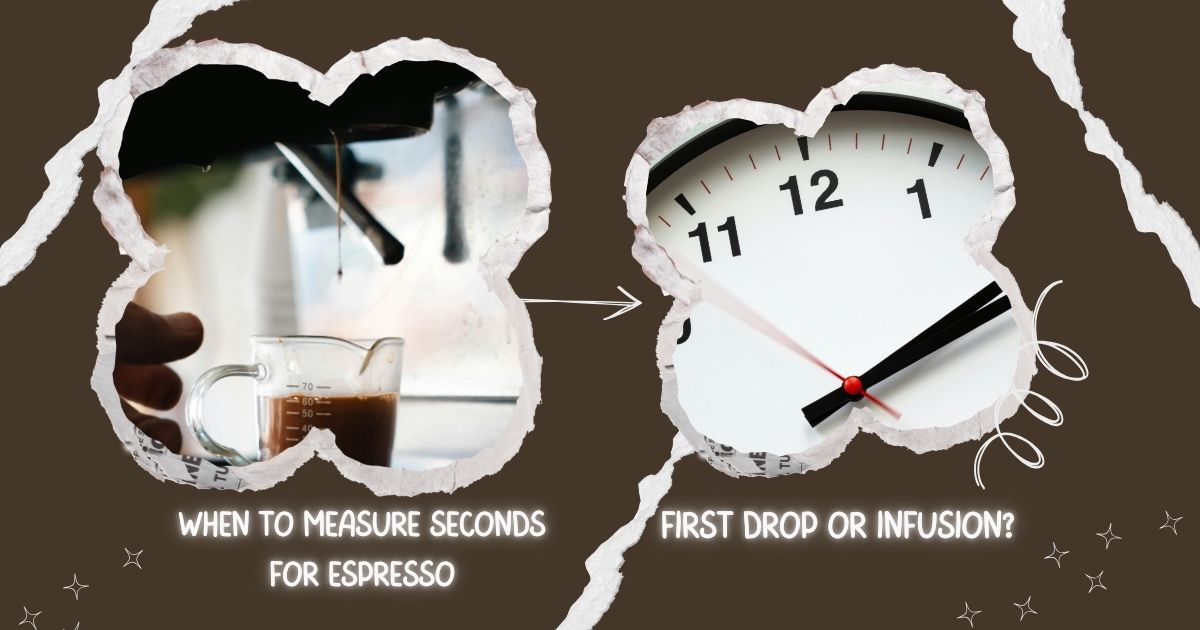
Here’s the real question: When to measure seconds for espresso—first drop or infusion?
Start too early, and you might include water that never reaches the cup. Start too late, and you risk under-extraction and muddled taste.
This isn’t just a debate—it’s a decision that affects every shot you pull.
Baristas, home brewers, and espresso nerds all face this timing dilemma. And the answer? It’s not one-size-fits-all.
In this guide, we’ll break down both methods. You’ll get expert insights, real-world examples, and a clear path to more consistent, better-tasting espresso.
Let’s settle it—once and for all.
Understanding Espresso Timing and Terminology
Pre-infusion is the gentle saturation of your coffee puck before full pump pressure kicks in.
It’s not just a fancy barista trick. This step helps reduce channeling—when water finds weak spots in the puck—and allows for a more even extraction.
According to Clive Coffee and HiBREW, pre-infusion usually lasts 5–7 seconds, giving the grounds time to soak, expand, and stabilize before high-pressure brewing begins.
Reddit users agree: timing from pump activation—when pre-infusion starts—leads to more consistent flavor, especially with light roasts or complex espresso recipes.
Skipping or mistiming this phase can lead to sour, underdeveloped flavors or uneven extractions.
That’s why understanding pre-infusion is critical—whether you’re dialing in a single-origin or chasing that perfect 1:2 brew ratio.
What Does “First Drop” Timing Mean?
“First drop” timing starts when espresso visibly begins flowing from the portafilter.
On most machines, this happens 5–8 seconds after you press the brew button—depending on grind size, dose, and tamp.
Some baristas prefer this method, arguing it tracks only the liquid extraction and excludes pre-infusion lag.
But here’s the issue: the delay isn’t consistent. On a fine grind, the first drop might take longer. That variance makes your shot timing unreliable.
Home-Barista threads and Reddit debates show how this lag creates confusion—especially when using scales or timers that auto-start on first drip.
Common Terminology Around Espresso Timing
To speak espresso fluently, you need to know a few key terms:
Shot timer – your stopwatch or machine’s timer that tracks brew time
Brew time – total time from pump start to last drip
Extraction time – another term for brew time, especially in manual setups
Flow rate – how fast espresso exits (grams/second)
Yield ratio – weight of espresso out vs. grounds in (e.g., 1:2)
These phrases are used interchangeably, but knowing the nuance helps you better control your espresso extraction.
Read Also:
👉 How to Make Coffee with Whole Beans
👉 Caffeine in Chocolate-Covered Coffee Beans
Expert Opinions & Community Insights
Want consistency? Start your timer when the pump starts.
That’s the gold standard across expert blogs like Brewing With Dani, manufacturers like HiBREW, and barista communities on Reddit.
Why? Because it includes pre-infusion. You track every second of water contact with the coffee puck.
Whether you’re aiming for 25–30 seconds total brew time or fine-tuning flow rate, this method offers better control.
Both Serious Eats and HiBREW confirm: counting from pump activation mirrors professional setups—and leads to repeatable, balanced shots.
Barista & Reddit Consensus
Experienced baristas agree: consistency is more important than the specific timing method.
“So I usually do a 5–7 second pre-infusion… then look for 38 grams out, which takes me about 20–25 seconds of flow time.” – Reddit user
“The honest answer… it doesn’t matter when you start timing as long as you do the same thing every time.” – Reddit thread
The Lever and other pros echo this advice: pick one method, stick to it, and calibrate your recipe around it.
Pros & Cons: Pump‑Start vs First Drop Timing
Let’s break it down:
Pump‑Start Timing
- Includes pre‑infusion
- Matches built‑in machine timers
- More consistent for recipe dialing
- Preferred in cafes and by manufacturers
First‑Drop Timing
- Ignores pre‑infusion
- Less reliable due to variable lag
- May understate true brew time
- Best used only if your scale auto-starts this way
Bottom line? If you’re aiming for precise, repeatable espresso—especially with manual or semi-auto machines—pump-start timing gives you the edge.
Technical Factors That Influence Timing

The finer your grind, the slower the water moves through the puck. That directly affects both pre-infusion duration and total brew time.
Same goes for dose—more coffee = more resistance.
That’s why your flow rate matters. Most pros aim for 1.5 to 2 grams per second. That ensures your shot doesn’t rush or choke.
For example:
18 g in → 36 g out in 30 s = 1.2 g/s (slow)
18 g in → 36 g out in 24 s = 1.5 g/s (ideal)
According to Scott Rao and real-world baristas on Reddit, maintaining a consistent yield and brew ratio (usually 1:2) is more important than obsessing over exact shot time.
So, if your grind is too fine and your flow slows down, your total time might hit 35 seconds. That’s fine—if the espresso tastes balanced.
Pro Tip: Adjust one variable at a time—grind, dose, tamp pressure—to keep timing predictable.
Pre‑Infusion Length and Roast Type
Longer pre-infusion means more water exposure upfront. That may require adjusting your total brew time, especially with light roasts.
Light roasts need more contact time to extract sweetness and acidity. A 6–8 s pre-infusion often works better than short pulses.
Dark roasts, on the other hand, extract faster and can become bitter if pre-infused too long.
The Lever and HiBREW both highlight this: pre-infusion isn’t just a timer tweak—it’s a flavor control lever.
Pro Tip: Use longer pre-infusion for dense, light roasts. Keep it short (2–4 s) for dark or oily beans.
Machine Differences & Scale Timer Modes
Not all machines measure time the same way.
Built-in timers usually start when the pump activates
Smart scales (like Acaia or Timemore) often begin timing at the first drop
That creates a timing mismatch—and explains why your machine says 30 seconds, but your scale shows 25.
To fix this:
Learn how your gear behaves
Adjust expectations accordingly
If your timer auto-starts at first drop, subtract ~5 s to match traditional pump-based timing
Home-Barista threads confirm: consistency matters more than where you start. Just make sure all your measurements align.
Pro Tip: Label your recipe by method: “30 s total (pump)” or “25 s flow (first drop)” to avoid confusion.
How to Calibrate Your Espresso Timing Method
Want repeatable results? Follow this simple system:
Choose your method – pump activation or first drop. Stick with it.
Pull test shots – record:
Pre-infusion time
Time to first drop
Total brew time
Final yield (in grams)
Taste test – Is it too sour, too bitter, or just right?
Adjust grind and dose – based on flavor and flow rate.
Repeat – log your results to refine your technique.
Pro Tip: Don’t chase time—chase taste. Use timing to guide, not dictate.
Recipe Examples
Here’s how it looks in practice:
🔹 Pump-Start Method
18 g in → 36 g out
Start timer at pump-on
Pre-infusion: 5–7 s
Total brew time: ~30 s
🔹 First-Drop Method
Same input/output
Start timer when espresso drips
Flow time: ~25 s
Adjust grind slightly coarser if needed
Both methods work—as long as you’re consistent.
Troubleshooting Flow Inconsistency
Flow all over the place? Here’s how to spot and fix issues:
- Channeling – water rushes through cracks or weak spots
Fix: Even tamp, proper distribution, WDT tool - Blonding – espresso turns pale too early
Fix: Stop shot sooner or use finer grind - Stalling – no flow after pump starts
Fix: Grind is too fine or dose too high - Good shot – steady stream, rich color, golden crema
Goal: Balanced timing, even extraction, great taste
Pro Tip: Video your shots. It helps diagnose issues frame-by-frame.
Conclusion
There’s no single “correct” answer to espresso timing—but there is a right approach for you.
- Pick one method—first drop or pump start—and stick with it
- Be consistent in how you measure and record your shots
- Use timing as a tool, not a rule
- Let taste be your final judge
Start your timer at pump activation if you want full control and better repeatability. It’s the default for most pros—and it includes every part of the extraction process.
Above all, experiment. Try both methods. Track your results. Adjust based on what you taste in the cup.
Because great espresso doesn’t just follow a stopwatch—it follows your palate.
FAQ: When to Measure Seconds for Espresso
Does pre‑infusion count toward espresso shot time?
Yes, if you start timing at pump activation. It’s part of the total extraction process.
Should I time espresso from first drop or infusion?
Most experts recommend starting from infusion (pump start) for consistent results.
What is the ideal shot time for espresso?
A typical espresso shot takes 25–35 seconds, including pre‑infusion.
How long is pre‑infusion in espresso timing?
Pre‑infusion usually lasts 5–7 seconds before the first drop appears.
How to time shots on machines with auto first‑drop timers?
Start timing at the first drop, but add 5–7 seconds to match pump-based timing.

Shahriar brings a unique blend of storytelling prowess and digital expertise to Daily Coffee Guide. With a background in SEO and content strategy, he ensures our articles on Beans, Coffee, Tea, and Drinks are both engaging and discoverable. His passion for coffee culture drives him to explore and share the rich narratives behind every cup.

